CrowdStrike FDR Data Stored in Amazon S3
Welcome!
In this article we will get you started enabling CrowdStrike FDR data into your own S3 bucket to perform search. We will then configure Query’s Federated Search platform to get those results combined with other data sources.
TL;DRFollow this guide to help pull CrowdStrike FDR data into and S3 and use with Query.
- Configure S3 bucket to receive logs
- Create AWS IAM policy, role & user
- Download security credentials
- Spin Up AWS instance
- Get FDR Keys and SQS from CrowdStrike Falcon
- Configure FDR client on AWS instance
- Use custom version of FDR script
- Run FDR
- Configure AWS Glue Crawler & Athena
- Setup Query Federated Search
Enable CrowdStrike FDR
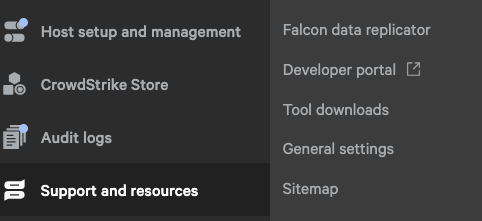
CrowdStrike FDR is not enabled by default. You may need to request FDR from your CrowdStrike account team. Login Falcon and browse to Support and resources->Falcon data replicator.
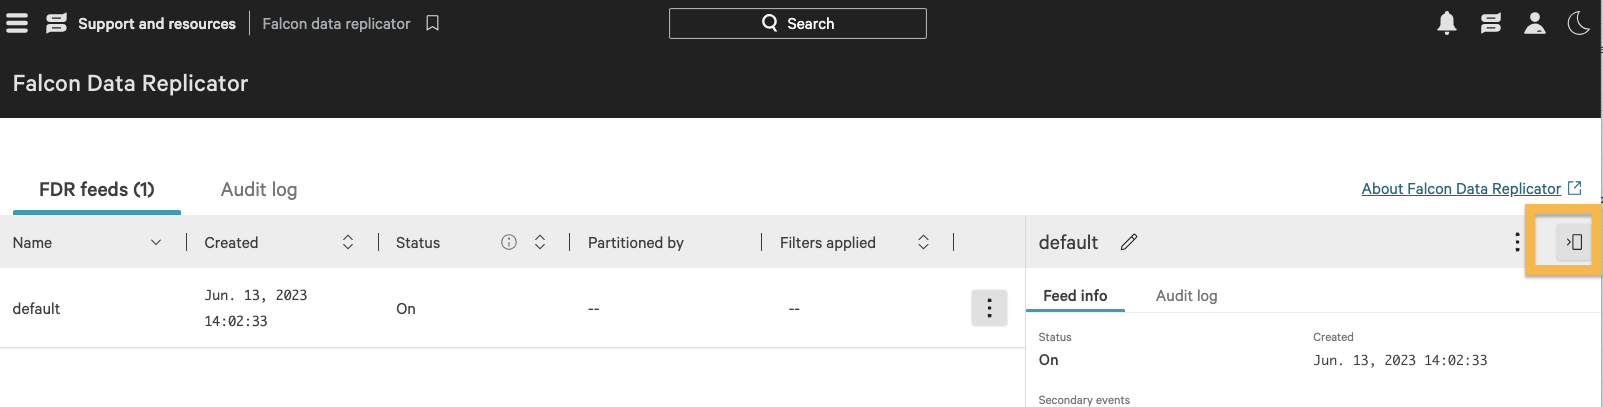
Ensure that FDR default feed is enabled. Once enabled, keep this window open - it will be used to configure the FDR script later.
Setting Up AWS
Create AWS Bucket
To receive data from FDR, we need user credentials to store our FDR data in our own bucket.
- In the AWS console, browse to S3 page and click Create bucket. Ensure you have selected the correct region you wish to store the data.

- Name your bucket and pick your region:
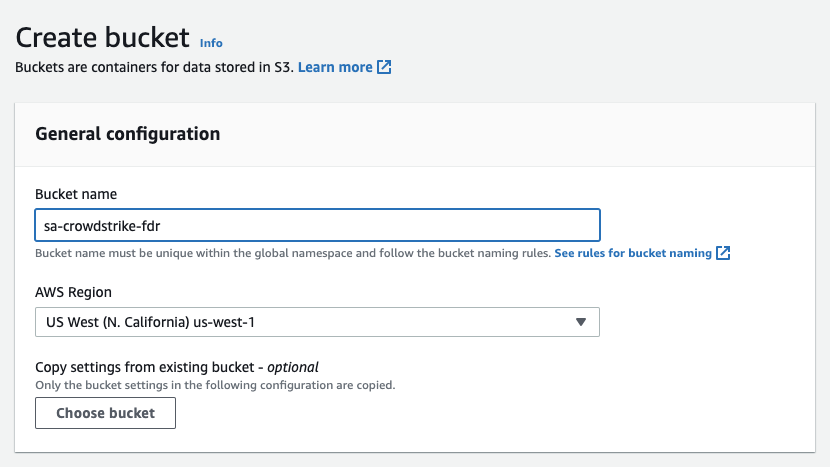
- Edit any other options as needed, in this example we have selected all default options
- Click Create Bucket
Create AWS IAM Policy
In order to store FDR data in your S3 bucket, you will need to grant permissions to allow the access. You may already have a policy that allows access, however the permissions listed below are known to work for S3 and for AWS Glue(Coming Later).
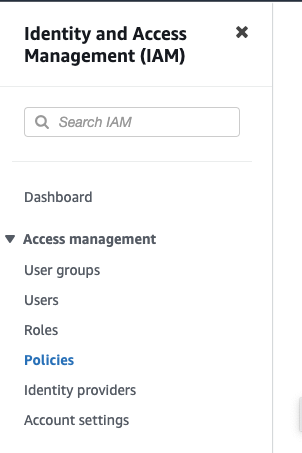
- Browse to the IAM page within the AWS console. Then click Policies in the menu bar. Click the Create policy button.
- Next in the "Specify permissions" box, click the JSON button.
- To make the permissions easier, we have posted our tested permissions JSON here.
- Copy and paste the permissions.
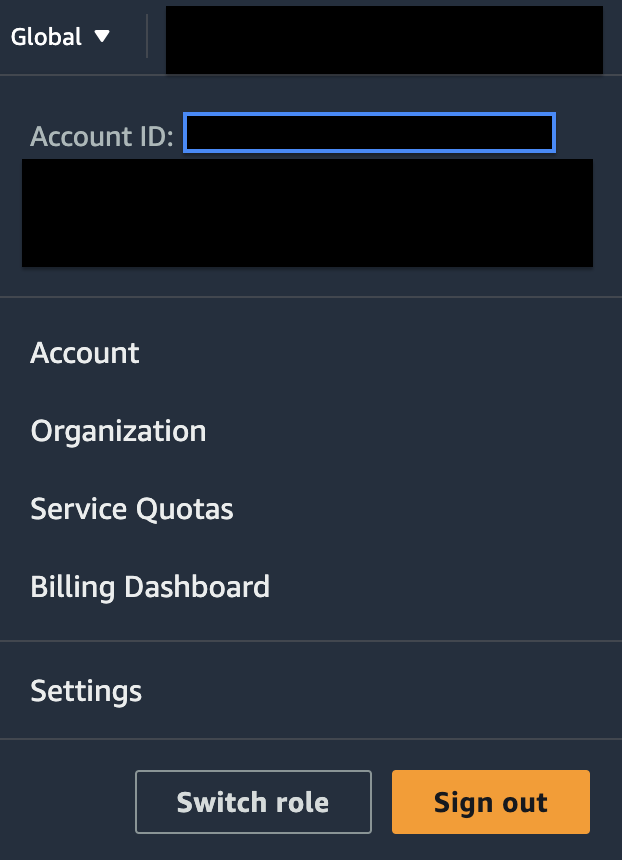
- You will need to modify your permissions to include the S3 bucket name and your account information. You can find your account details in the drop down next to your login name in the AWS console.
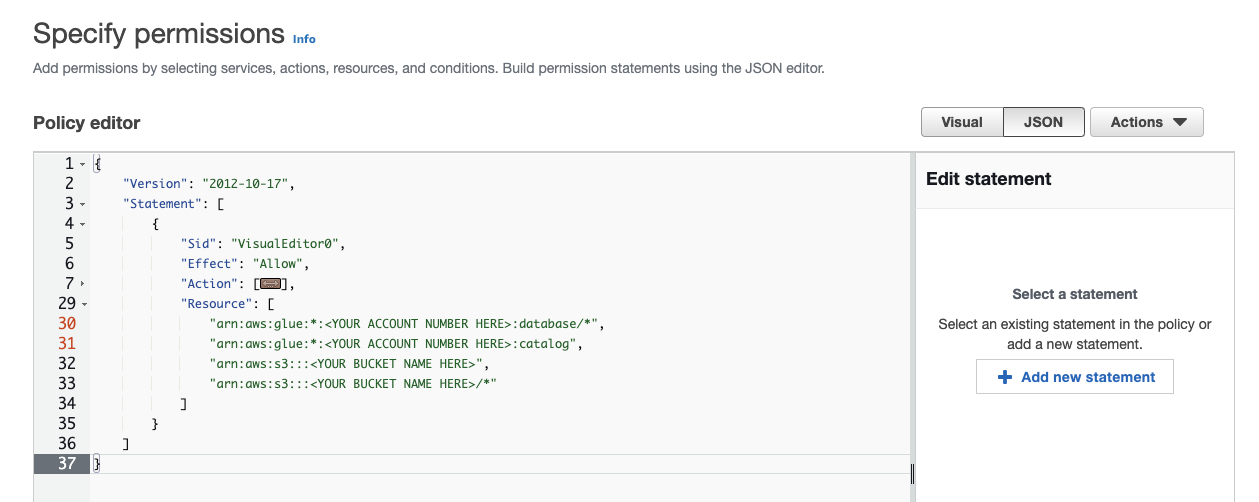
- When finished, your JSON Resource section should like something similar to the below. Note: these permissions also will be used for the AWS Glue section coming later.
AWS Permissions!Ensure there is one line that has the "/*" configured. This is necessary for the script to create new folders in the bucket (see line 5 of the JSON below).
            "Resource": [
                "arn:aws:glue:*:<YOUR ACCOUNT NUMBER HERE>:database/*",
                "arn:aws:glue:*:<YOUR ACCOUNT NUMBER HERE>:catalog",
                "arn:aws:s3:::"<YOUR_BUCKET_NAME>",
                "arn:aws:s3:::<YOUR_BUCKET_NAME>/*"
]- Click Next
- Give the policy a name and if you wish a description
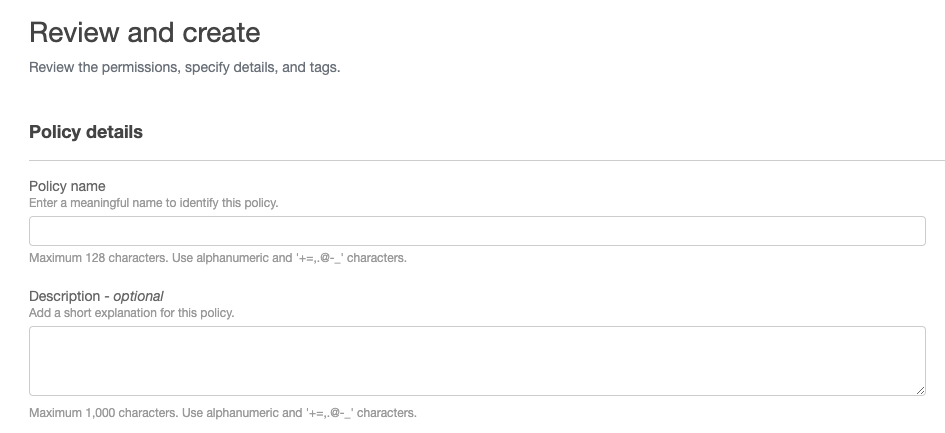
- Click Create policy
Here you will create a role that has the permissions for Glue and S3. Still in the IAM portion of the AWS console. Add a new role by clicking the Create role button.
- Click Add permissions to add the policy you created above. Then select Attach Policies.
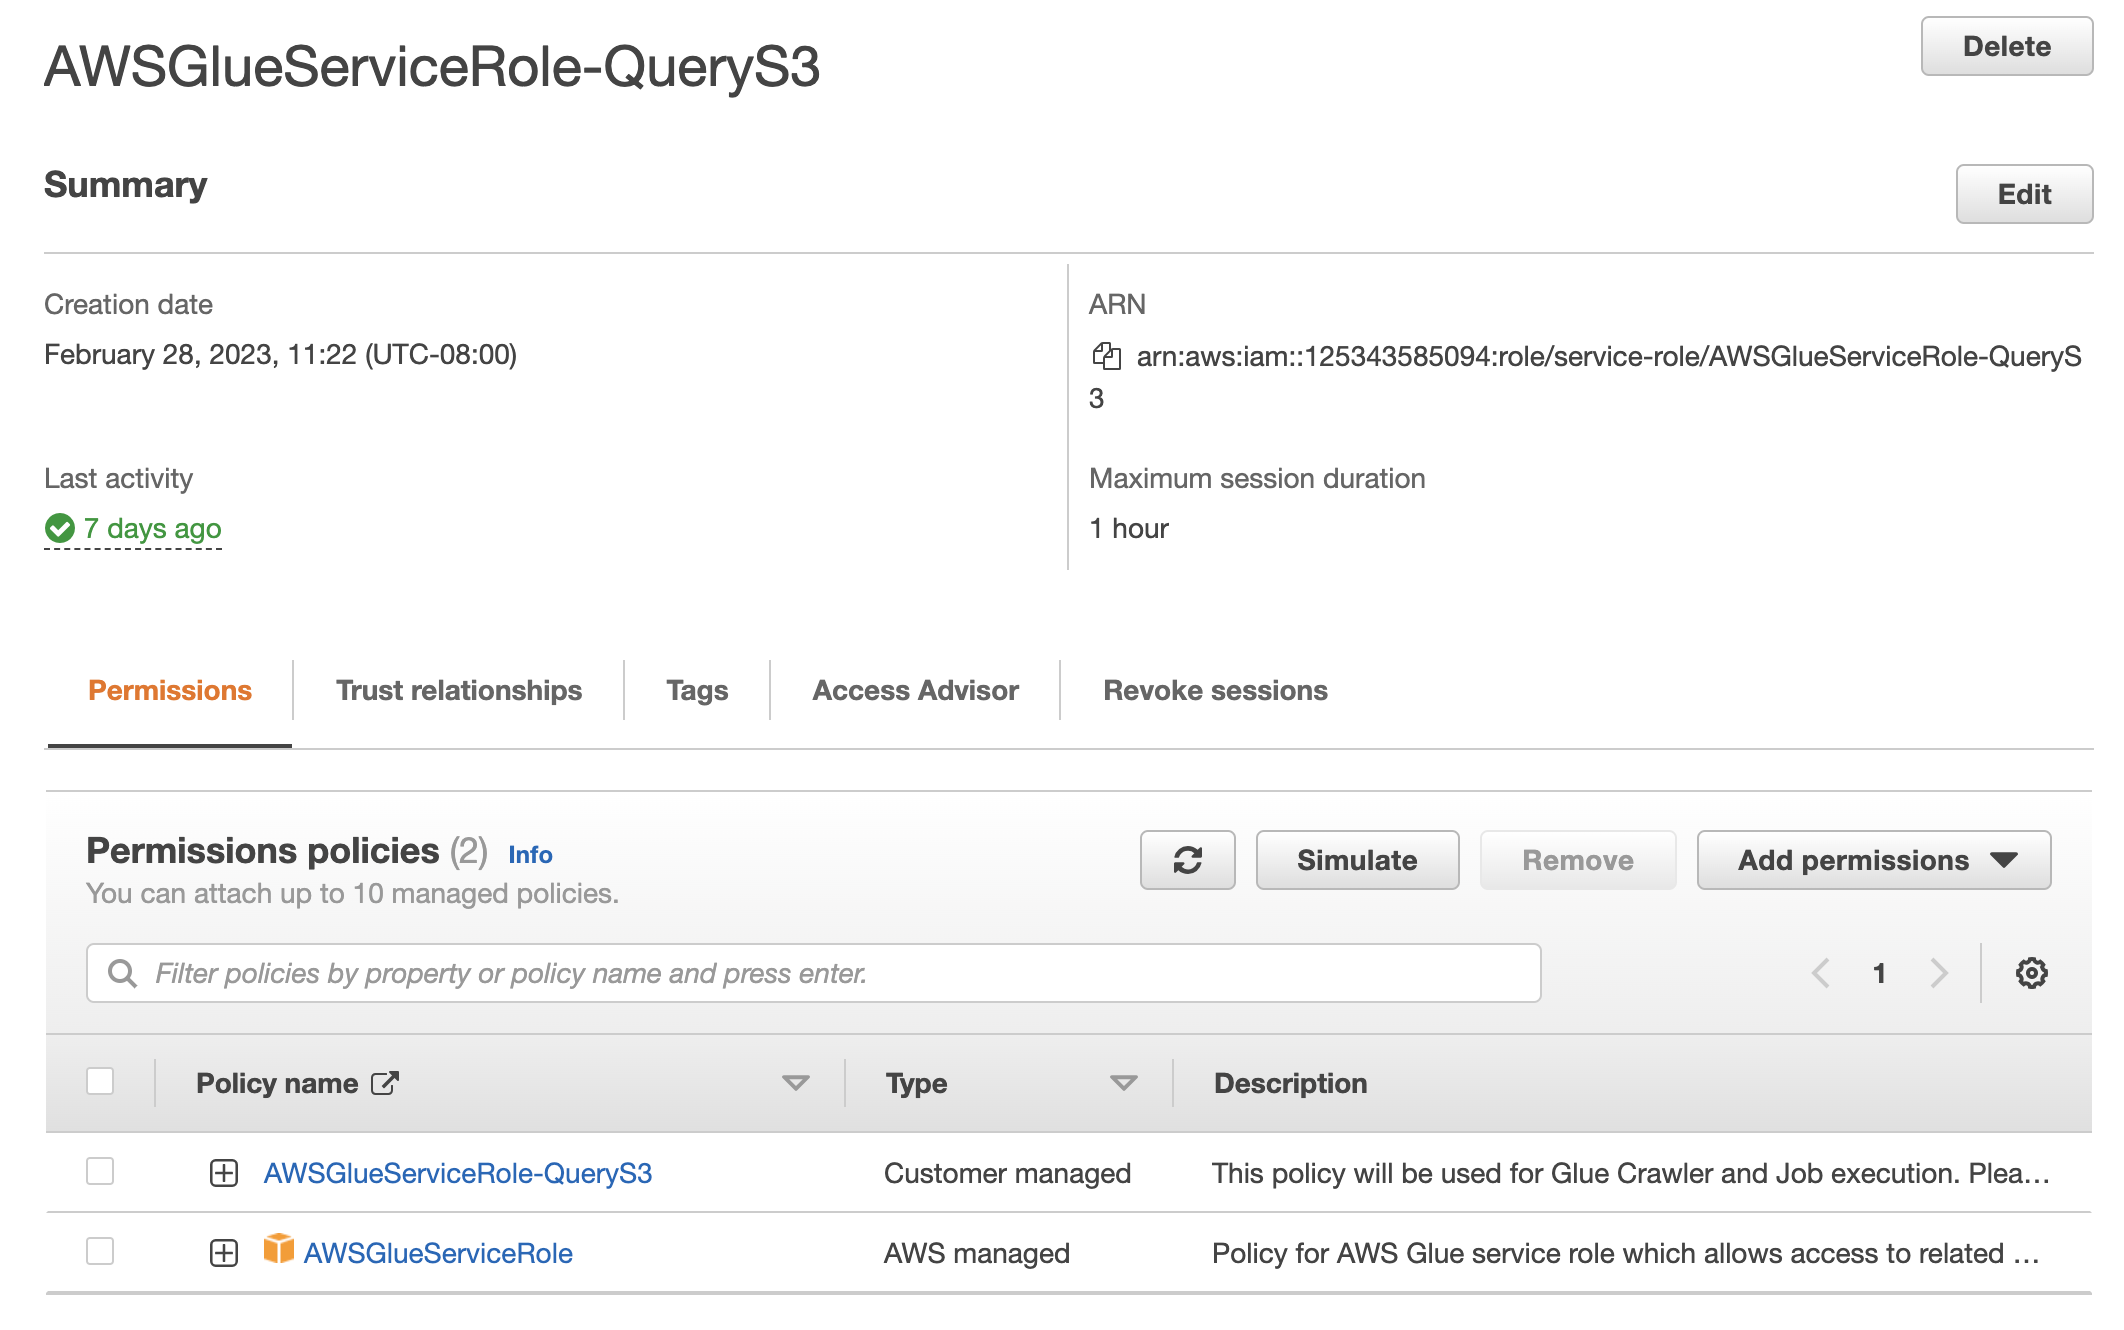
- Next also add the default role AWSGlueServiceRole.
- When completed, you will have a role saved something similar to this:
Create a User
From the same IAM console, you will now create a user and apply the permissions you created above. Start by going to the Users IAM page and click Add users.

- Next add the user details. For this tutorial there is no need for this user to have AWS Management Console access. You may leave this field unchecked.
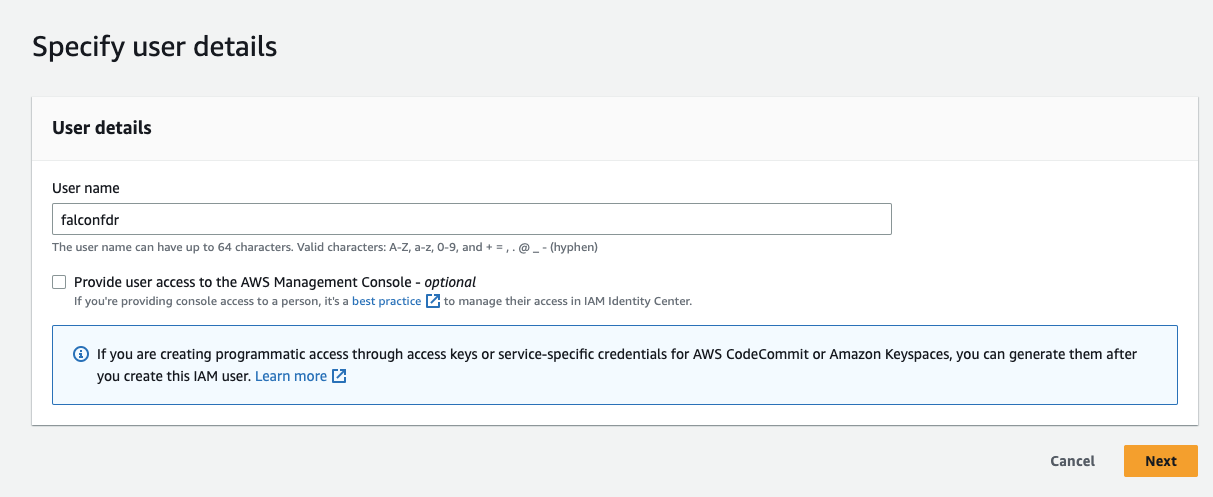
- Click Next
- For purposes of this tutorial we are going to attach policies directly:
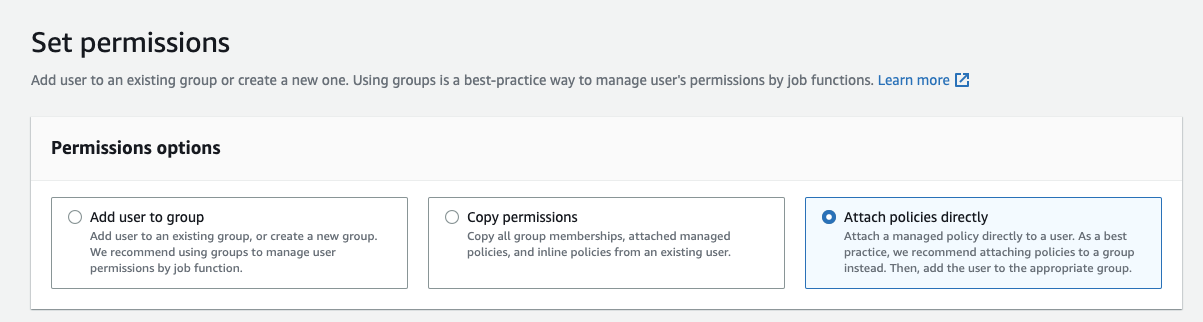
- Next search and select for the policy you created above
- Click Next
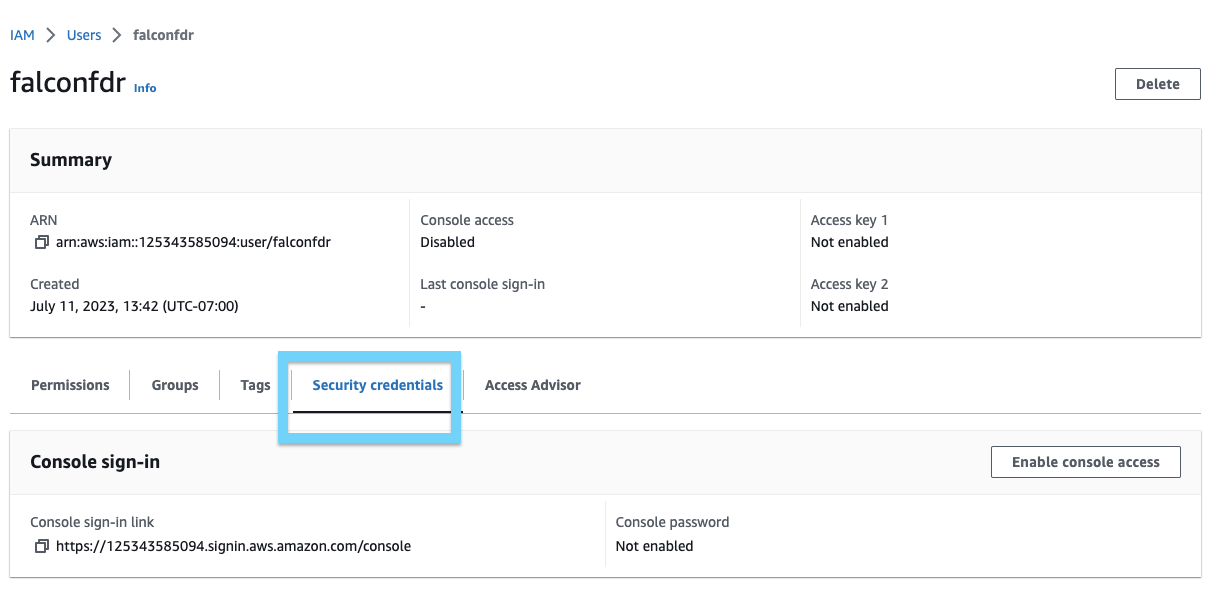
Create Credential Keys
Now that we have the user created and the correct permissions created, we need to download their security keys. Open the Security Credentials tab:
- Scroll down to the Access Keys section and click Create access key:
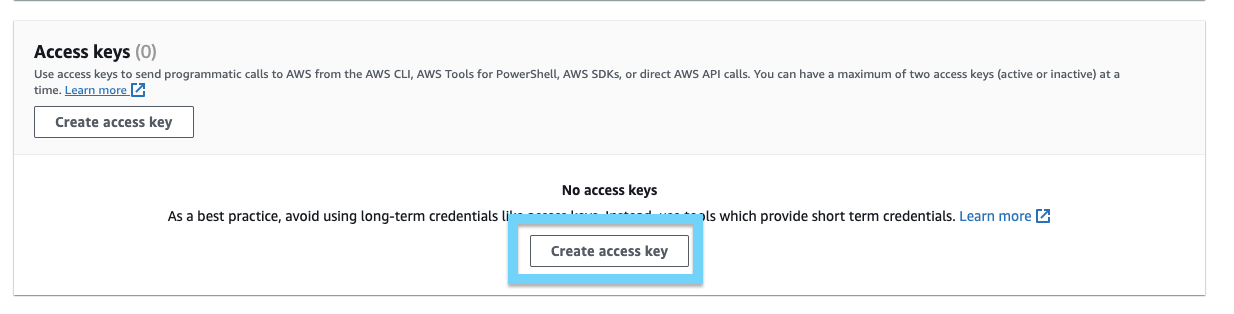
- Click the Command Line Interface (CLI) option and click the check box for "I understand the above recommendation...". This is for demonstration purposes only.
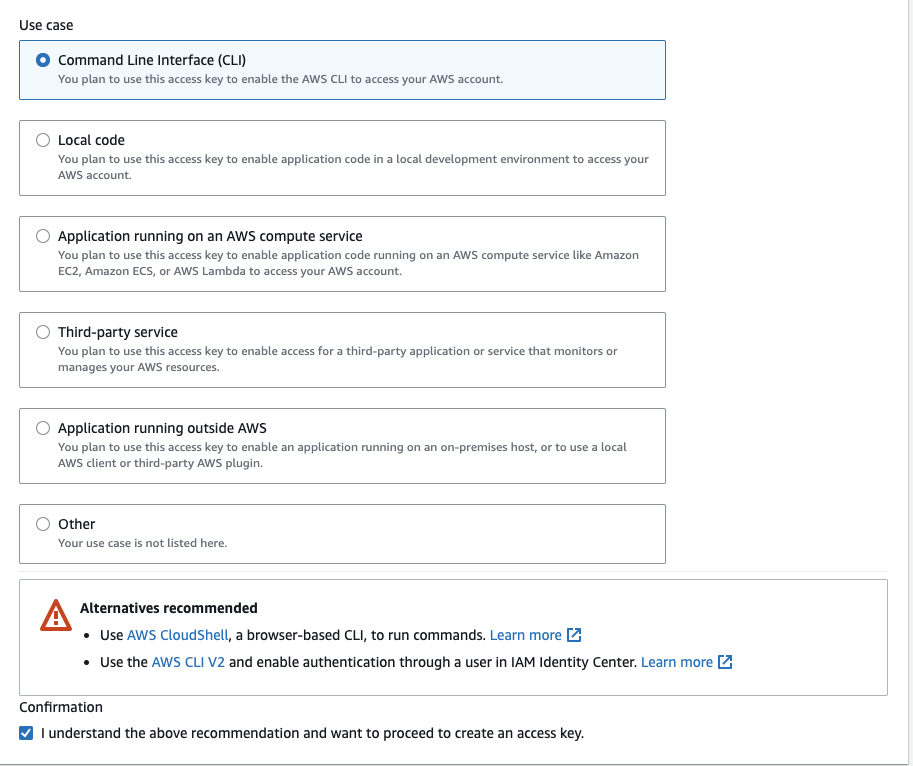
NOTE:Other authentication mechanisms are available, however for document brevity we will use the CLI option.
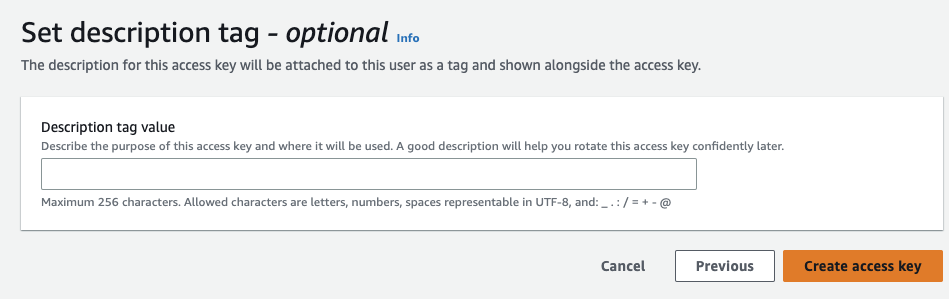
- Click Next then Create access key
- Copy and paste the Access key and the Secret key to a secure location.

- Click Done
Server Setup
The FDR scripts can be run from any instance or server on most operating systems. This tutorial was tested on Ubuntu 22 and Mac. Windows computers should work, however not tested at the time of this writing. For this tutorial the following should be installed:
| Software | Version(s) | Comments |
|---|---|---|
| Python3 | 3.6+ | This document was tested on Python3.9 & 3.10 running Ubuntu linux and on a Mac |
| AWS Cli Client | 2.9 | |
| Git Client | 2.24 |
- Connect to your instance and verify the python version for example:
> python3 -V
Python 3.10.6- Ensure you have the AWS client installed. If the AWS client is not installed follow this link to get the client installed and configured.
- You will need to ensure that you have the AWS credentials configured properly. Edit the (Mac/Linux) file
~/.aws/credentials/and add the security credentials you created above.
[default]
aws_access_key_id = <YOUR KEY - No Quotes>
aws_secret_access_key = <YOUR SECRET KEY - No Quotes> - You can check your credentials and the AWS cli with the command
aws s3api list-buckets. - Clone the FDR scripts from the Query repo:
git clone https://github.com/query-ai/FDR.gitConfigure the FDR Script
Once you have cloned the FDR repo from above, you will want to create a python virtual environment. Cd into the FDR directory and create the virtual environment. The commands are:
> cd FDR
> python3 -m .venv venv
> source .venv/bin/activate- Verify you have the correct path for your python binary
(.venv) > which python
/home/ubuntu/FDR/.venv/bin/python- Here we will install all of the python libraries with the command
pip install -r requirements.txt
(.venv) > pip install -r requirements.txt
  Downloading boto3-1.28.2-py3-none-any.whl (135 kB)
     ━━━━━━━━━━━━━━━━━━━━━━━━━━━━━━━━━━━━━━━━ 135.7/135.7 KB 3.5 MB/s eta 0:00:00
----Cut Installing Packages----
Edit the FDR INI File
Here we will edit two sections of the falcon_data_replicator.ini file, Source (Crowdstrike Falcon S3 bucket) and the Destination(Your S3 Bucket). First we will edit the [Source Data]
FDR [Source Data] Section
- AWS_KEY - AWS client ID provided to you by the CrowdStrike Falcon configured in the first step
- AWS_SECRET - AWS client secret provided to you by the CrowdStrike Falcon console configured in the first steps above
- QUEUE_URL - AWS SQS queue URL from CrowdStrike Falcon console above
- REGION_NAME - The name of the AWS region where your CrowdStrike SQS queue resides
FDR [Destination Data] Section
In the same falcon_data_replicator.ini file update the following parameters:
- TARGET_BUCKET - The name of the AWS bucket we will use for our target destination above
- TARGET_REGION - The name of the AWS region our target bucket resides within
- TARGET_ACCOUNT_ID - The AWS account ID of the target bucket
Change any other parameters of the file for your environment.
OCSF Conversion Note:At this time, leave leave the option
DO_OCSF_CONVERION = no. This breaks the script.
Run FDR
While still in the python virtual environment (which python) run the FDR with python falcon_data_replicator.py. For example:
❯ python falcon_data_replicator_query.py
2023-07-12 15:23:01,999 INFO     FDR/main        _____ ____  ____        _
2023-07-12 15:23:02,000 INFO     FDR/main       |  ___|  _ \|  _ \      (.\
2023-07-12 15:23:02,000 INFO     FDR/main       | |_  | | | | |_) |     |/(\
2023-07-12 15:23:02,000 INFO     FDR/main       |  _| | |_| |  _ <       \(\\
2023-07-12 15:23:02,000 INFO     FDR/main       |_|   |____/|_| \_\      "^"`\
2023-07-12 15:23:02,000 INFO     FDR/main       Process starting up with Thread Count=5
2023-07-12 15:23:02,336 INFO     FDR/main       Upload to AWS S3 enabled
2023-07-12 15:23:02,345 INFO     FDR/main       Startup complete
2023-07-12 15:23:03,054 INFO     FDR/thread_3   Uploaded file to path 0322dadadva777c-44ds2e99/fdrv2/aidmaster/year=2023/month=07/day=12/15_eo6eurwma8HWXNz3pyVqgY.jsonl.gz
2023-07-12 15:23:03,408 INFO     FDR/thread_2   Uploaded file to path 0322dadadva777c-44ds2e99/data/year=2023/month=07/day=12/15_/kYBf6PSGey2J9bqgwHjRH4.jsonl.gz
Here you can see the script has started uploading files received from CrowdStrike FDR.
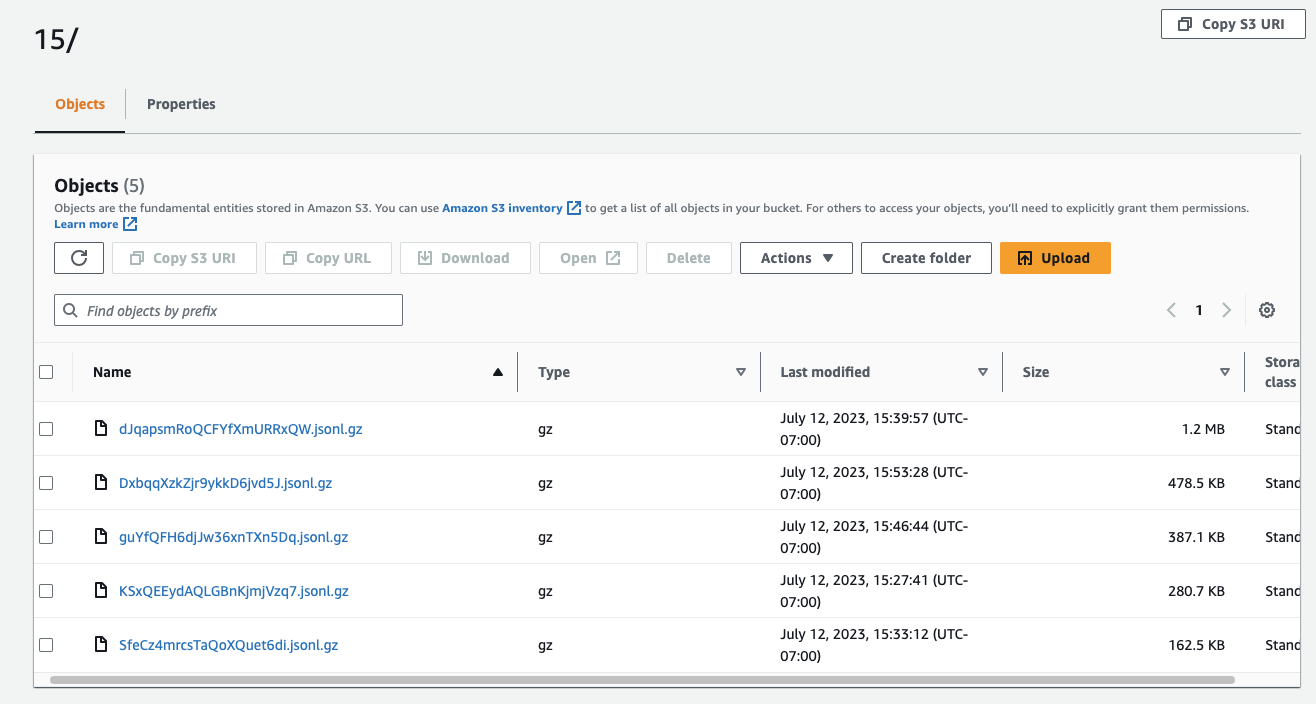
Verify Uploads
If all is successful above, you will start seeing your files in the bucket you created. Browse to your S3 bucket and click through the folders and you should find your uploaded files.
For example:
To read the data in S3, we want to create an Athena table. AWS Glue helps us create all of the necessary tables for Athena. The steps below walk you through setting up the Glue Crawler that make the Athena tables so we can search the S3 data.
- Search or browse to the Glue section of the AWS console.
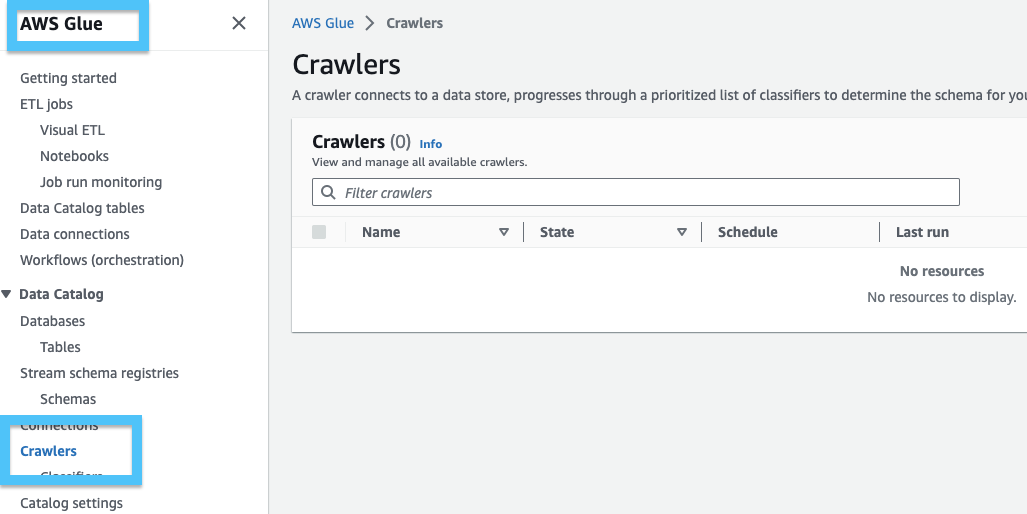
- Click Create Crawler
- Name your Crawler and click Next

- Select Not yet if your data is already mapped to Glue tables
- Click Add a data source
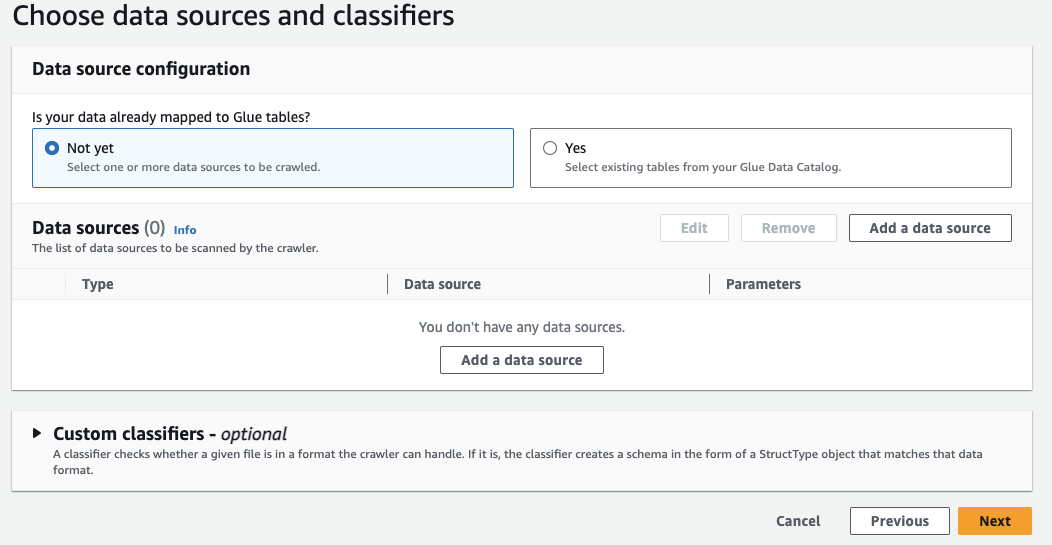
-
In the popup select the following:

- Click Next
- In the Configure security settings box, select the IAM Role created in the previous section of this document.
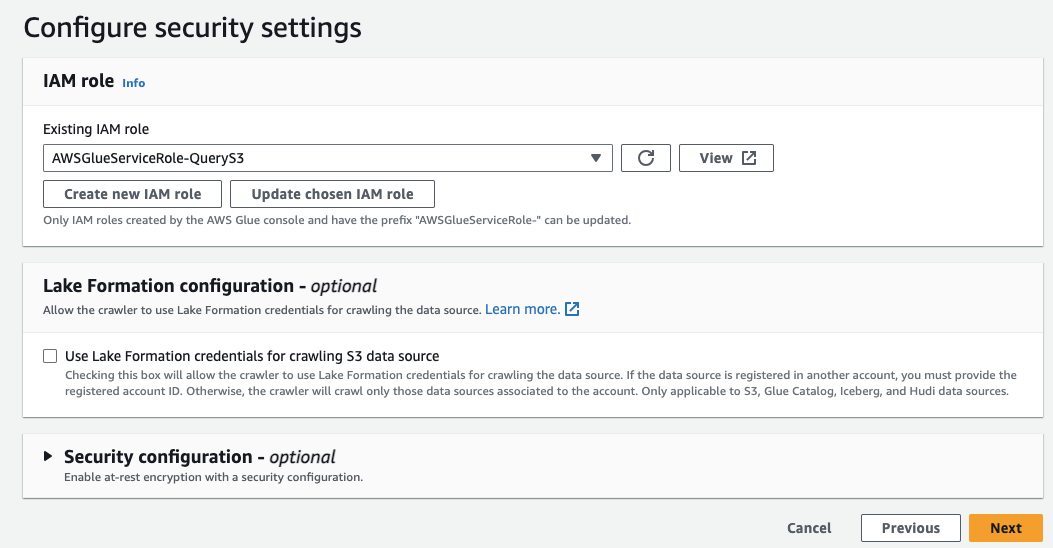
- Click Next
- Select or Add database, here we are using the default database or create a new database.
- For now, you can leave the Crawler schedule as On demand.
- Under enable prefix, it's recommended to give an identifier that the table is CrowdStrike and/or FDR. In this example we use the prefix csfdr_ (CrowdStrike Falcon Data Replicator. When the crawler creates the table it the prefix will be automatically set for you.
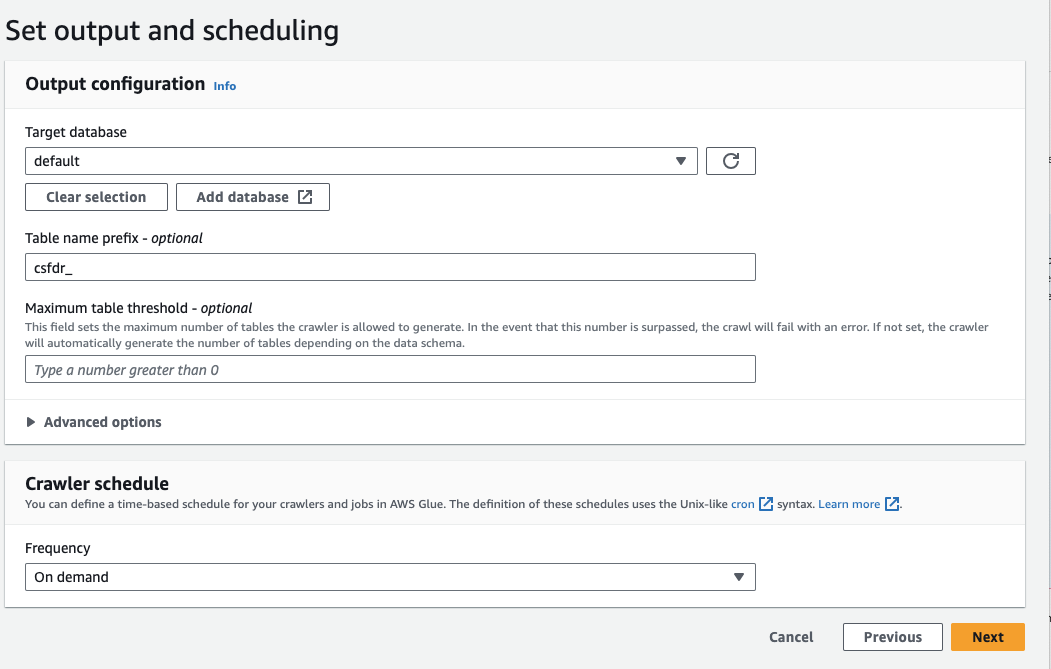
- Click Next
- Click Create Crawler
- To scan the CrowdStrike FDR files uploaded click Run crawler
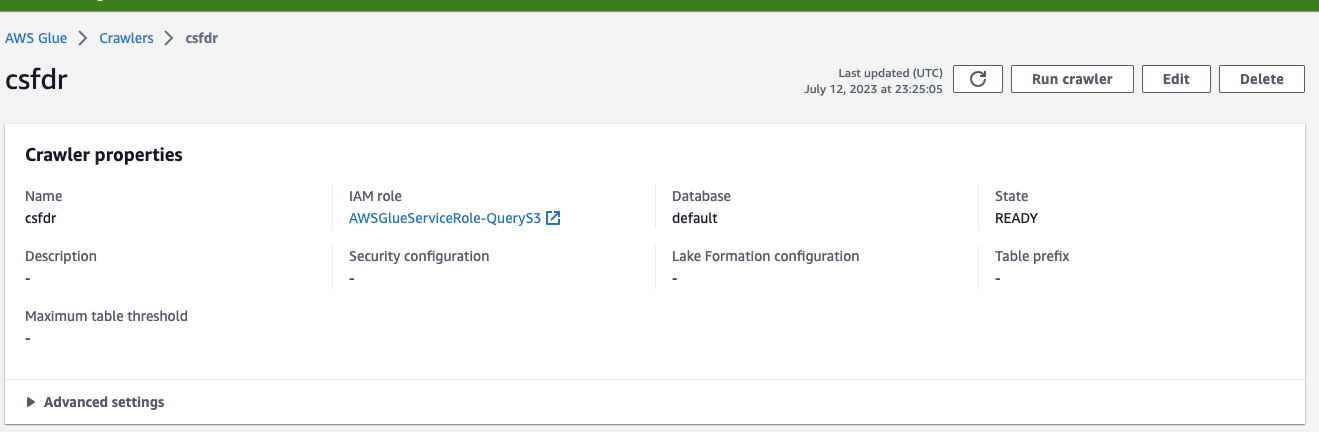
- This may take a few minutes depending on the size of your data. You can check the status by clicking on the refresh button.
Check Athena Tables
Once your Crawler is successful, you are ready to check Athena tables to view your CrowdStrike Data. Browse to the Athena section of the AWS console. In Athena you should see the tables with the prefix you created earlier. In my example this was csfdr_.
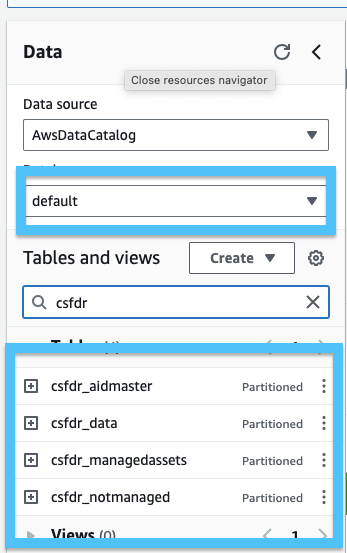
- Click the 3 dots next to csfdr_data (or your chosen prefix) and select Preview Table. If all is working as expected, you should see some data returned:

Setup Query Connection
Login and browse to the connections page of the Query App at https://go.query.ai/connections. You can sign up for Query with these instructions.
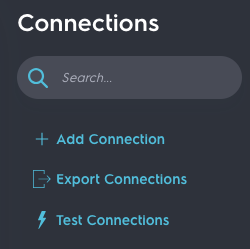
- Click Add Connection in the left hand pane:
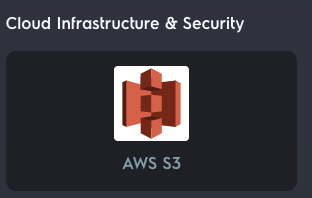
- Under Cloud Infrastructure & Security select AWS S3:
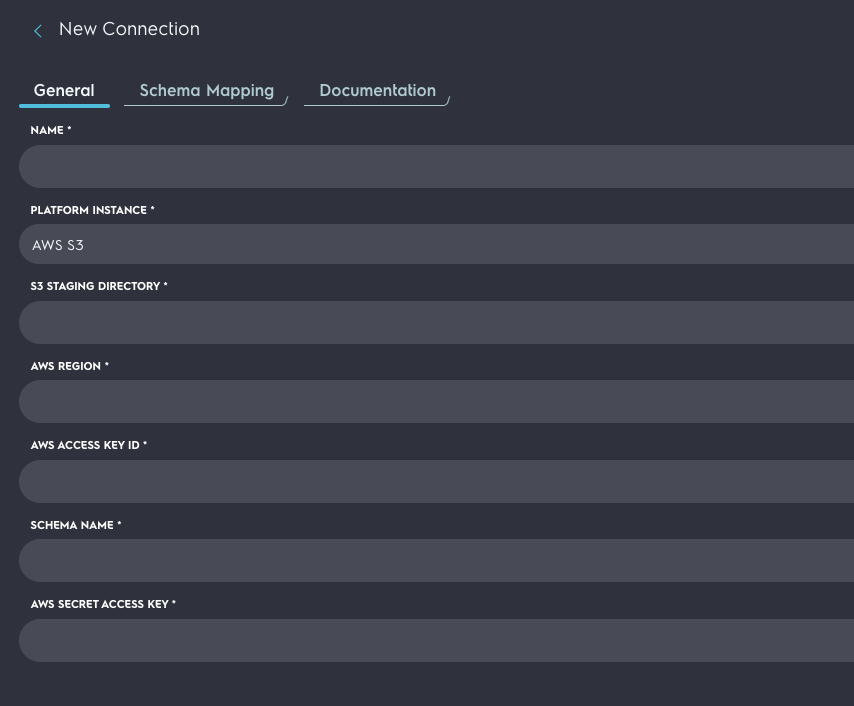
- Enter the credentials. The credentials you created earlier are able to access the data.
- Select schema mapping:
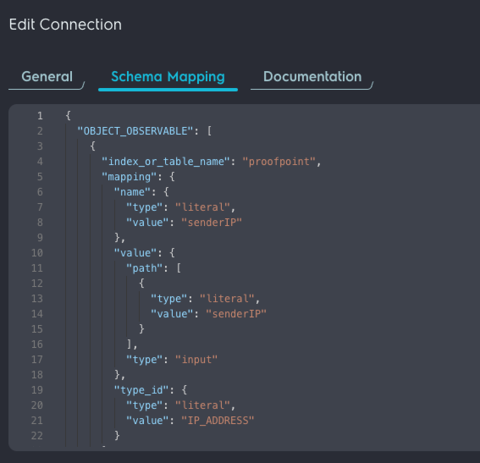
- If this section is empty, please contact either your support team or you may email [email protected] and they will assist you in completing this configuration.
More Help Is Here
If you need assistance, feel free to reach out to [email protected]. The team is very familiar with this process and are happy to help.
Coming Soon!
Also check back again for future updates. In the near future the application may take advantage of AWS services to make this entire process easier. We welcome your feedback!
Updated 8 months ago